

From Sketch To Sweat
From Sketch to Sweat: How a Noble Services Sauna Is Actually Built
When you see a finished sauna glowing in the snow, it’s easy to forget how many decisions go into every board, every layer of insulation, and every piece of glass.
At Noble Services, your sauna isn’t a flat-pack kit or a generic prefab box. It’s a custom structure, designed for your yard and built to handle real Alberta winters. Noble Services
In this post, we’ll walk through how a Noble Sauna goes from first idea to that first deep, quiet exhale on the bench.
1. The First Conversation: What Does “Perfect” Look Like for You?
Every project starts with a simple question:
How do you actually want to use your sauna?
Some people want a quiet solo retreat. Others want a social space for friends every weekend. Some want very clean modern lines; others want a cozy cabin aesthetic.
In that first call or email, we’ll talk through:
How many people you’d like to seat comfortably
Whether you want a porch, change area, or just a compact hot room
Where the sauna might sit in your yard (views, privacy, snow drifts, wind)
Your preference for bright glass or a more private feel
Wood choices and overall style (modern, rustic, Scandinavian-inspired, etc.)
From there, we can start to see the outline of your sauna, not just “a sauna.”
2. Site Visit & Measurements: Designing for Your Yard, Not a Showroom
Once we know the general vision, we come see the space.
On site, we:
Take exact measurements and photos
Look at grade, drainage, and access for delivery and construction
Check sightlines from your house, neighbours, and street
Consider sun, wind direction, and snow load patterns
Talk through foundation options (gravel pad, screw piles, or concrete, depending on the project)
This step is where we solve problems before they happen: where doors swing, how steps work in winter boots, and how you’ll move from house → sauna → cold air or cold plunge without slipping around in February.

3. Sketches & Layout: Turning Ideas into a Real Plan
With measurements and notes in hand, we move into layout.
Here we decide:
Overall footprint (for example, a compact cube like Vitalis, or a longer Somnium-style layout with a covered porch)
Door and window placement (views out, privacy in)
Bench layout and height for comfortable sitting and lying down
Heater location for both efficiency and safety
Where lighting and switches will live so they’re easy to reach but not in your face
We may create clear, simple drawings and layouts so you can visualize the space and give feedback before any wood is cut. This is the moment to say “Can we add a bigger window?” or “Let’s extend the porch” — and we adjust the design accordingly.
4. Materials & Details: Choosing What You See and What You Don’t
A sauna is two things:
What you see and touch – the wood, glass, hardware, lights.
What you never see – framing, insulation, vapor barrier, and all the details that make it last.
Together, we’ll choose:
Interior Wood
Clear, knot-free options for a clean, modern look
Or more character-filled boards if you want a warm, natural cabin feel
Exterior Cladding
Siding profiles and stains to match your home or stand out as a feature
Details like corner trims, fascia, and soffits that give it a finished, intentional look
Glass & Openings
Full glass doors or partial glass for more privacy
Side windows to frame a view of your yard, trees, or open sky
Proper tempered glass suited to sauna temperatures
Heater & Controls
Electric heaters sized correctly to your room volume
Rock placement, guard rails, and control locations for ease of use
All of this gets locked in before we start the build, so everyone knows exactly what we’re making.

5. The Hidden Core: Insulation, Framing, and Vapor Control
This is where Noble saunas really separate themselves from thin, kit-style boxes.
Our saunas are built like small, well-insulated buildings:
Framing with 2x4 walls (or larger where needed) for strength
High-quality insulation (such as Rockwool in many designs) to keep the heat in and the cold out
Proper vapor barrier and air sealing to handle high humidity and protect the structure
Thoughtful details around corners, windows, and door frames so there aren’t weak, drafty spots
In a Calgary cold snap, this is the difference between “barely warm unless the heater is on full blast” and a quiet, even heat that actually feels like a retreat. Noble Services
You don’t see this once the cedar goes up, but you feel it every time you step inside.
6. Building the Shell: From Floor System to Weather-Tight Sauna
Once the design and materials are set, we build the structure itself.
Typical steps:
Floor system & base – Framing, insulation (if applicable), sheathing, and any moisture management needed at the base.
Walls & roof framing – Squared, plumb, and tied together to handle both heat and heavy snow.
Sheathing & weatherproofing – Wrapping the shell, flashing around openings, and preparing for siding.
Exterior cladding – Siding, trims, fascia, and roofing installed to withstand years of freeze–thaw cycles.
Windows & door – Carefully installed and sealed so they look beautiful and perform well through winters.
By the time this stage is done, you have a fully weather-tight building that just happens to be waiting to become a sauna.
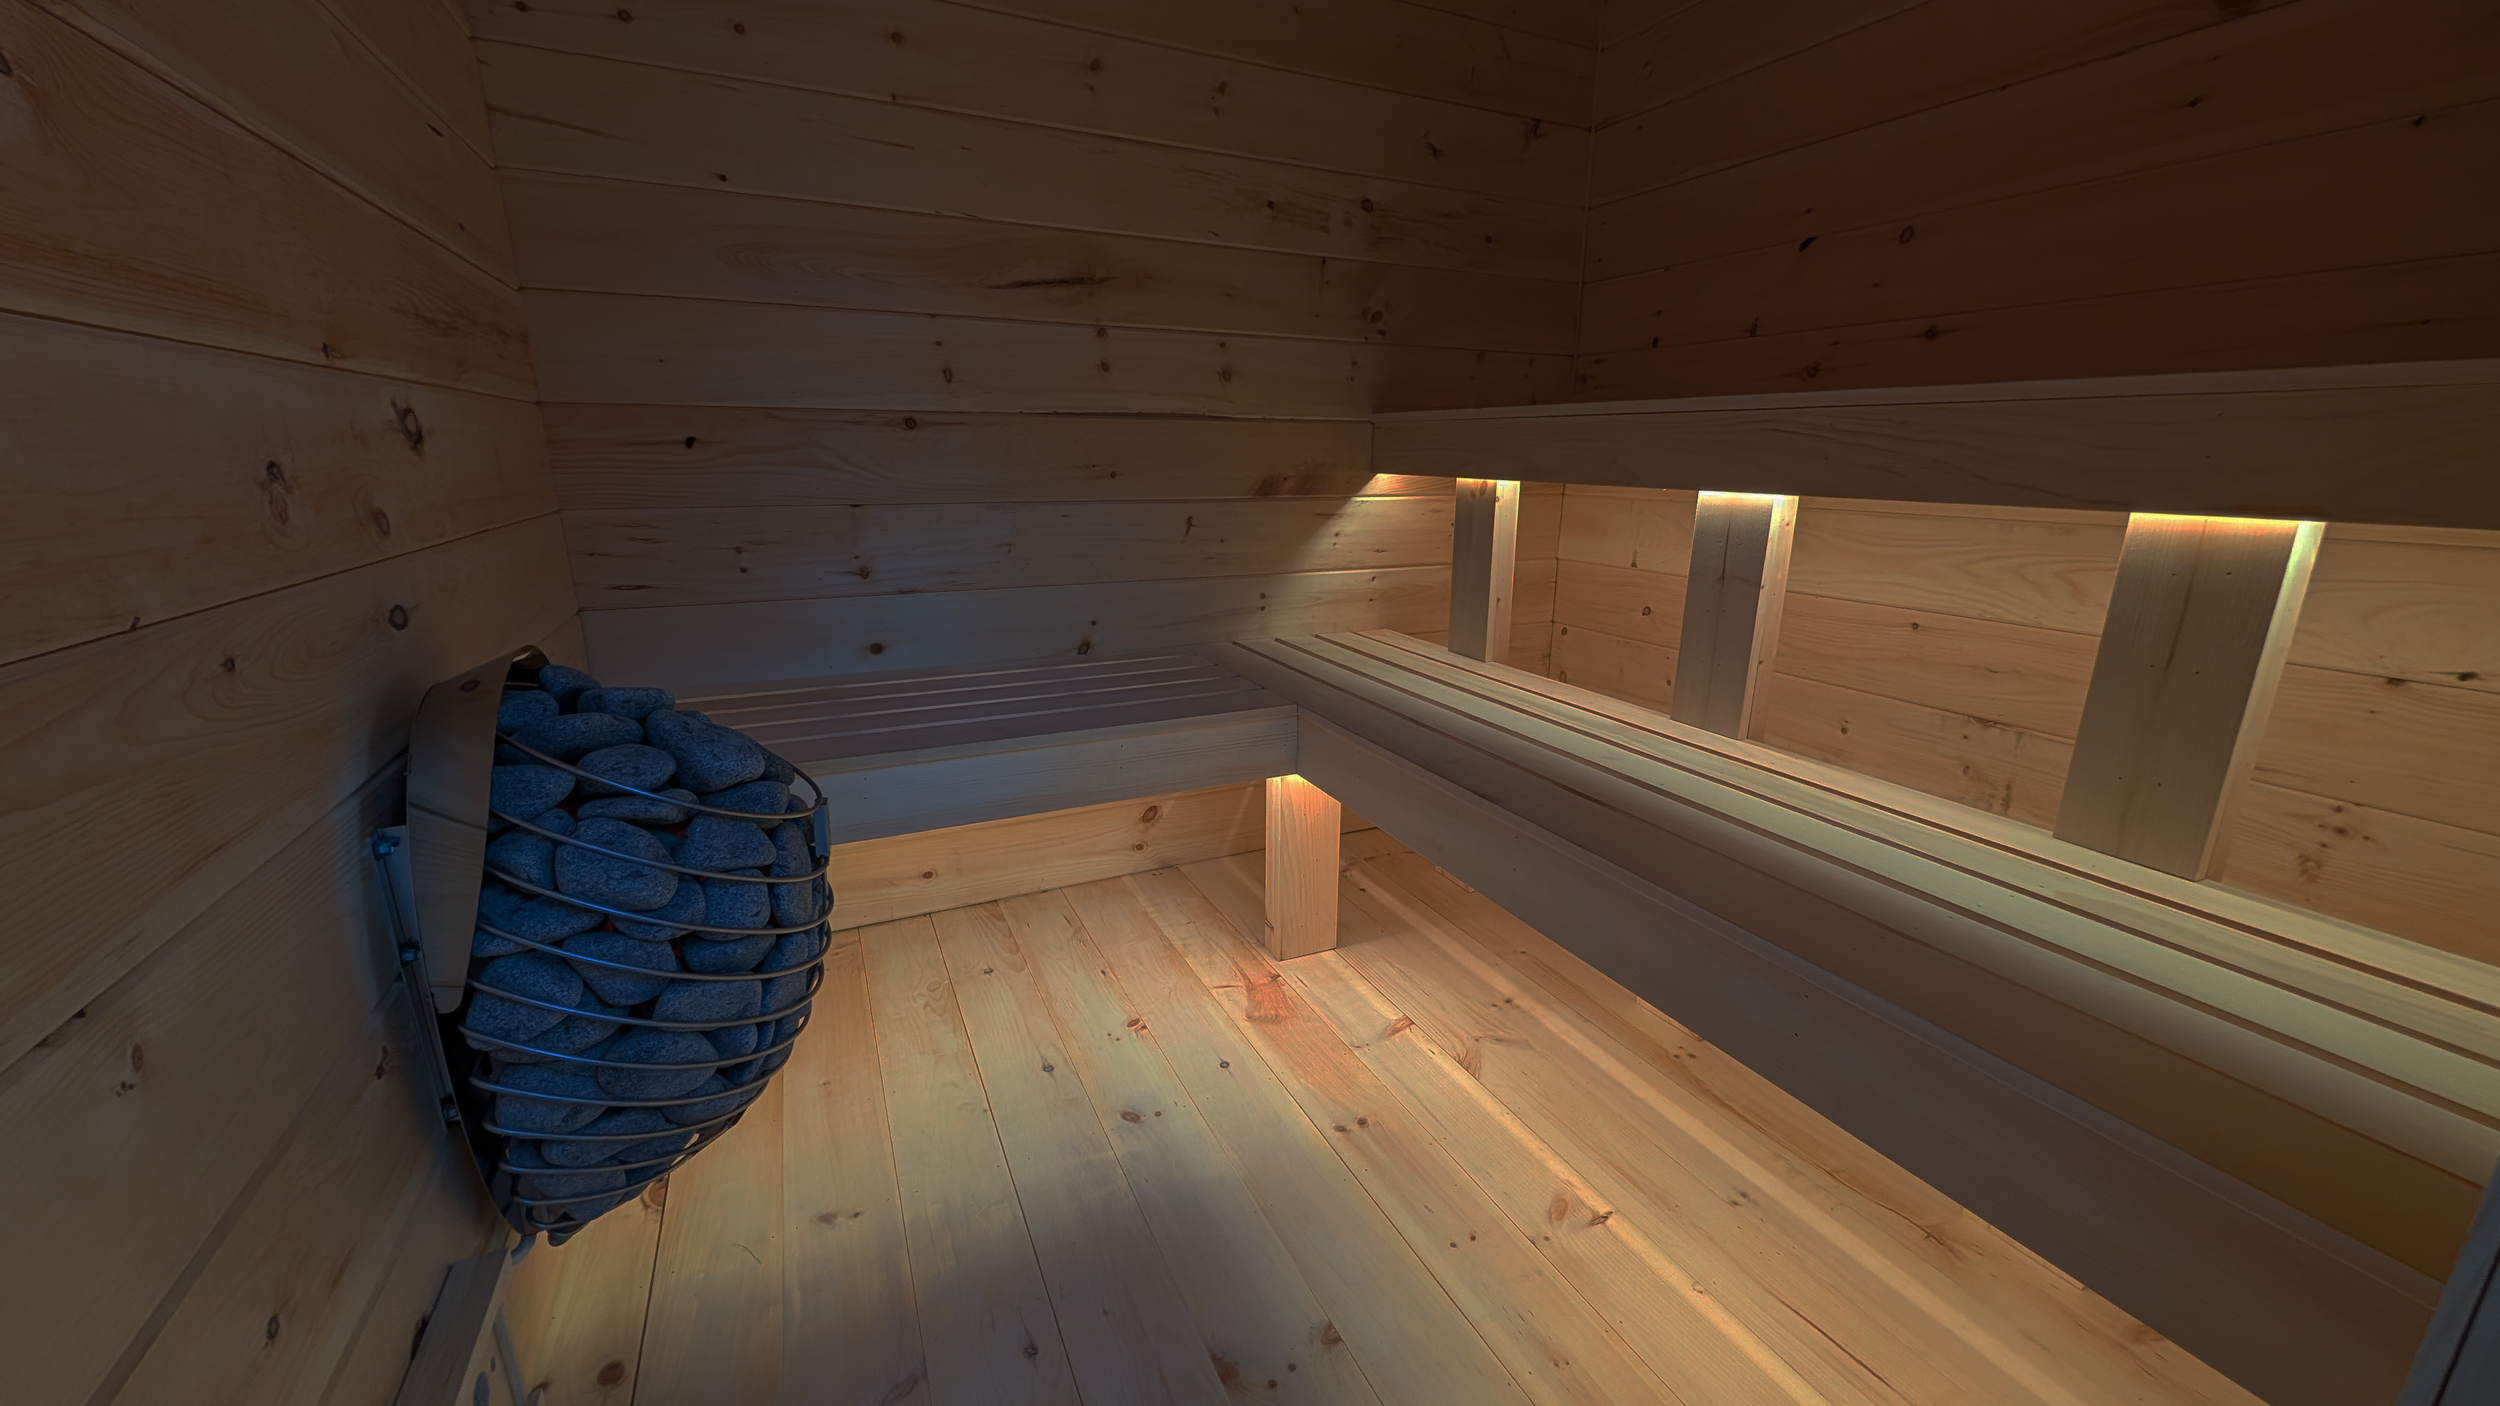
7. Sauna Interior: Benches, Finishes, and the “Feel” of the Room
Inside the shell, the sauna really comes to life.
We:
Install the interior cladding with tight lines and clean details
Build benches at heights that feel natural for sitting or lying down
Create rounded or eased edges where your body rests
Integrate lighting in a way that’s soft, not harsh — often indirect or tucked under benches or behind valances
Install the heater and guards to manufacturer specs, and run electrical via a certified electrician where required
The goal: when you sit down for the first time, it feels intentional. The proportions feel right, the wood is inviting, and your eye naturally lands on views, not on defects or awkward gaps.
8. Final Checks, Clean-Up, and Your First Sweat
Before we hand you the keys (or realistically, the door handle), we:
Double-check fasteners, seals, and any moving parts
Test door swings and latches
Confirm heater operation and controls
Clean the space so you’re seeing wood, not sawdust
Then we walk you through:
How to heat the sauna and for how long - to break in the materials under heat
How to care for the wood over time
Simple habits to keep it dry, healthy, and beautiful for years
From that moment on, it’s yours: an outdoor sauna, designed and built specifically for your space and your life.
Why We Don’t Build “One-Size-Fits-All” Kits
Kits and prefab saunas exist to be shipped cheaply, not necessarily to be warm, quiet, or long-lasting in a place like Calgary.
By designing and building from scratch, we can:
Match your yard, not a warehouse template
Use thicker, better-insulated walls
Control every detail of framing, sealing, and finishing
Create something that feels like it belongs with your home, not like a temporary box dropped in the corner
It’s more work. But the end result is a sauna that feels like a small, bespoke building — not a piece of furniture.
Ready to Start Sketching Your Sauna?
If you’re curious about what a custom Noble sauna could look like in your yard, the next step is simple:
Visit the Saunas section on nobleservices.ca
Browse our in house designs: Somnium, Aether, Stratos, and Vitalis
Reach out through the contact form to start your own “sketch to steam” conversation
Your backyard can be more than a place you shovel in winter. It can be a sanctuary.